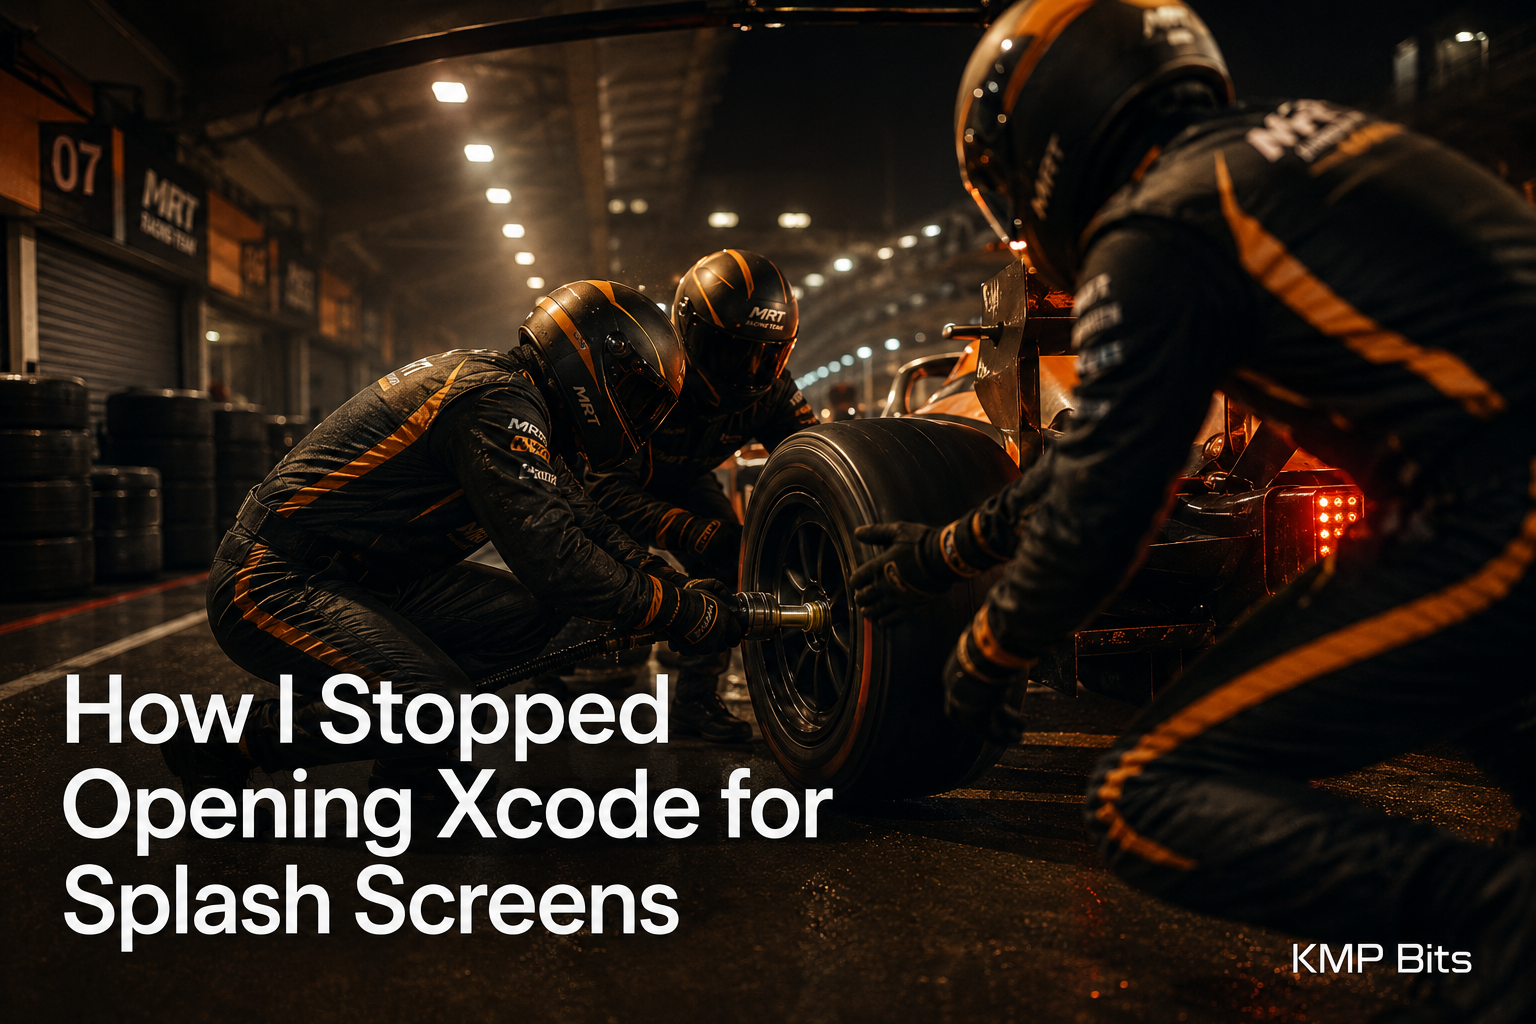
The pit crew was always there. I just had to build it.
Every Formula 1 driver knows. You don’t change your own tyres. You don’t adjust the front wing yourself. You pull in, the crew handles it in under three seconds, and you’re back at racing speed before you’ve had time to think about it. The driver’s job is to drive.
I kept changing my own tyres.
Every new Compose Multiplatform project came with the same ritual. Open Xcode, find the LaunchScreen storyboard, set the background color add the logo to the asset catalog, patch Info.plist, go back to Android Studio, generate themes.xml and add the theme to the manifest. I always ended up copying the setup from the last project because I never remembered all the steps. Sometimes I forgot one file and only found out on device. The race was already running and I was still in the garage.
So I built the pit crew. KMP Splash is a Gradle plugin that handles the entire splash screen setup for both Android and iOS from a single config block. This is about why I built it and how it evolved. The README has the full setup. This is the story behind it.
The storyboard era
The standard iOS splash screen approach for years was LaunchScreen.storyboard. You created a storyboard, set a background color, added an image view, connected it to the asset catalog, and referenced it in Info.plist. Xcode’s tooling made it manageable, if you were working in Xcode.
In a Compose Multiplatform project, you are not in Xcode, you’re in Android Studio, and Xcode is a separate application you open only when something native needs touching. Any change, a color tweak, a new logo, means switching contexts entirely. Then switching back.
What finally got to me was the copy-paste cycle. Every new project, I’d go back to the last one, try to remember which files I needed, copy them over, adjust the names, miss something, and only discover the miss when the app launched wrong on a real device. It wasn’t a hard problem. It was a repetitive one. And repetition compounds.
Apple introduced UILaunchScreen, on iOS 14, as a plist-based alternative. Instead of a storyboard, you define a dictionary in Info.plist with your background color name and optional logo. No storyboard, no Interface Builder, no Xcode required for changes. The OS reads it directly.
That was the door. The pit lane was always there. I just needed to build a crew.
One config block
The idea was simple: describe the splash screen once, in Kotlin, in the build file you already have open. Let the plugin generate whatever the platforms need.
The first version was rough. Background color was a plain hex string. Logo was a full file path. It worked, but it was fragile. A typo in the color string generated wrong assets with no error until the app ran. A wrong path gave you a cryptic Gradle message that pointed nowhere useful.
// composeApp/build.gradle.kts — first version, don't do this
splashScreen {
    backgroundColor = "#FFFFFF"
    logoFile = "src/commonMain/composeResources/drawable/logo.png"
}
I shipped the alpha that way because it was functional. But I knew it was wrong. Strings give you no help. The crew hands you a tyre and you have to figure out if it’s the right compound yourself.
The API learned to talk back
The second iteration introduced typed wrappers. SplashColor replaced the hex string and validates the format immediately, telling you exactly what’s wrong if the input is malformed. SplashLogo replaced the full path and resolves the location from composeResources/drawable/ automatically. You just name the file.
The config went from something you had to get right to something that tells you when you haven’t:
// composeApp/build.gradle.kts
splashScreen {
    backgroundColor = SplashColor.hex("#FFFFFF")
    backgroundColorNight = SplashColor.hex("#1A1A2E")
    logo = SplashLogo.resource("logo.png")
    logoDark = SplashLogo.resource("logo_dark.png") // optional
}
SplashColor also accepts RGB values with SplashColor.rgb(26, 26, 46) and named constants like SplashColor.white. Both backgroundColorNight and logoDark are optional. If you don’t set them, the plugin uses the light values for both modes.
The difference feels small in a snippet. In practice, the config stopped being a source of bugs. I stopped thinking about it. That’s the goal. The driver manages the tyres, but he doesn’t fit them himself. That part stays in the pit lane.
The gap nobody talks about
Splash screens on mobile have two distinct phases. First, the OS renders something while your app loads. Then your Compose UI takes over.
The problem is the transition between them. On iOS especially, there’s a moment after the native launch screen disappears but before Compose has initialized where the screen flashes its default background. On a cold start on a slower device, that flash is visible. It feels rough even when everything else about the app is polished.
KMP Splash bridges it. On Android, SplashActivity extends the native splash by holding the screen until your initialization is done. On iOS, SplashConfig renders a Compose screen that’s visually identical to the native launch, using the same colors and logo, and holds it until the app is ready.
The Compose side reads the config from your Gradle block automatically. You don’t pass colors or logos at the call site. You configured them once, and everything is already wired.
Using it
On Android, you extend SplashActivity in your MainActivity:
// androidMain/MainActivity.kt
class MainActivity : SplashActivity() {

    override suspend fun isReady(): Boolean {
        delay(1000) // load data, check auth, etc.
        return true
    }

    override fun onFinished() {
        setContent { App() }
    }
}
On iOS, you call SplashConfig from your MainViewController:
// iosMain/MainViewController.kt
fun MainViewController() = ComposeUIViewController {
    var isAppReady by remember { mutableStateOf(false) }

    if (!isAppReady) {
        SplashConfig(
            isReady = {
                delay(1500)
                true
            },
            onFinished = { isAppReady = true }
        )
    } else {
        App()
    }
}
Both tasks run automatically before compilation. You never call them manually.
The first time I used it on a new project and didn’t open Xcode once, I sat back for a second. The right color, the right logo, no flash. The app looked exactly right from the first pixel. And I hadn’t touched a storyboard.
One limitation worth knowing
There’s one thing no library can fix. The native splash screen reads the system dark mode setting, not your app’s dark mode setting. If your app has its own appearance toggle and the user has set it to dark while the phone is in light mode, the native launch screen will still show the light version.
This isn’t a bug in the library. The OS renders the native splash before any of your code runs. There’s no way to communicate an app-level preference at that point. The Compose layer can respond to it, but the brief native phase cannot.
The options are: use a background color that works in both modes, or accept that the native splash matches the system and the Compose layer corrects to the app preference immediately after. For most apps, neither is a real problem. But it’s worth knowing before you spend time debugging it.
Wrapping up
The frustration that started this was trivial on any individual project. It’s the repetition that wears you down. The same ritual, the same files to remember, the same context switch to Xcode. Automating it didn’t require anything exotic. It just required sitting down and building the crew.
KMP Splash is published on Maven Central at io.github.kmpbits:splash-runtime. The README has the full setup guide. Source is on GitHub.
Pull into the pits, let the crew handle it, and get back on track. 🏁
The library is available on GitHub.
The KMP Bits app is available on App Store and Google Play, built entirely with KMP.
Comments
Loading comments...